Template Actions and Nested Templates in Go
This article is part of a series
This is the second part in a four part series where we are learning about creating dynamic HTML and text files with Go’s template packages.
If you haven’t already, I suggest you check out the first part of the series (linked above - look for “Previous Article”). It isn’t absolutely necessary to understand the article, but we created a few source files in that article that will be helpful if you intend to code along.
You can also check out the series overview here: An Introduction to Templates in Go.
And if you are enjoying this series, consider signing up for my mailing list to get notified when I release new articles like it. I promise I don’t spam.
Setting up a Web Server
Up until now we have been outputting templates to the terminal, but as we start to dive into more HTML this starts to make less sense. Instead we want to visualize the HTML being generated in a web browser. To do this we first need to set up a web server that will render our HTML templates.
Open up main.go and update the code to match the code below.
package main

import (
  "html/template"
  "net/http"
)

var testTemplate *template.Template

type ViewData struct {
  Name string
}

func main() {
  var err error
  testTemplate, err = template.ParseFiles("hello.gohtml")
  if err != nil {
    panic(err)
  }

  http.HandleFunc("/", handler)
  http.ListenAndServe(":3000", nil)
}

func handler(w http.ResponseWriter, r *http.Request) {
  w.Header().Set("Content-Type", "text/html")

  vd := ViewData{"John Smith"}
  err := testTemplate.Execute(w, vd)
  if err != nil {
    http.Error(w, err.Error(), http.StatusInternalServerError)
  }
}
And if you don’t already have it created from the previous article, create a file named hello.gohtml and add the following to it.
<h1>Hello, {{.Name}}!</h1>Now start the server by typing go run main.go in your terminal. The program should remain running and be listening to web requests on port 3000, so you can view the rendered HTML at localhost:3000.
if…else Blocks
Our current template is pretty boring as it only prints out a persons name. But what happens if no name is provided? Lets try it out. Open up your main.go file and remove the code inside of your handler() fucntion that creates an instance of ViewData and instead provide nil to the testTemplate.Execute method. Your handler() function should look like this when you are done:
func handler(w http.ResponseWriter, r *http.Request) {
  w.Header().Set("Content-Type", "text/html")

  err := testTemplate.Execute(w, nil)
  if err != nil {
    http.Error(w, err.Error(), http.StatusInternalServerError)
  }
}
Now restart your server (or let fresh do it) and visit the page in your browser - localhost:3000. You should see a page that looks something like this.
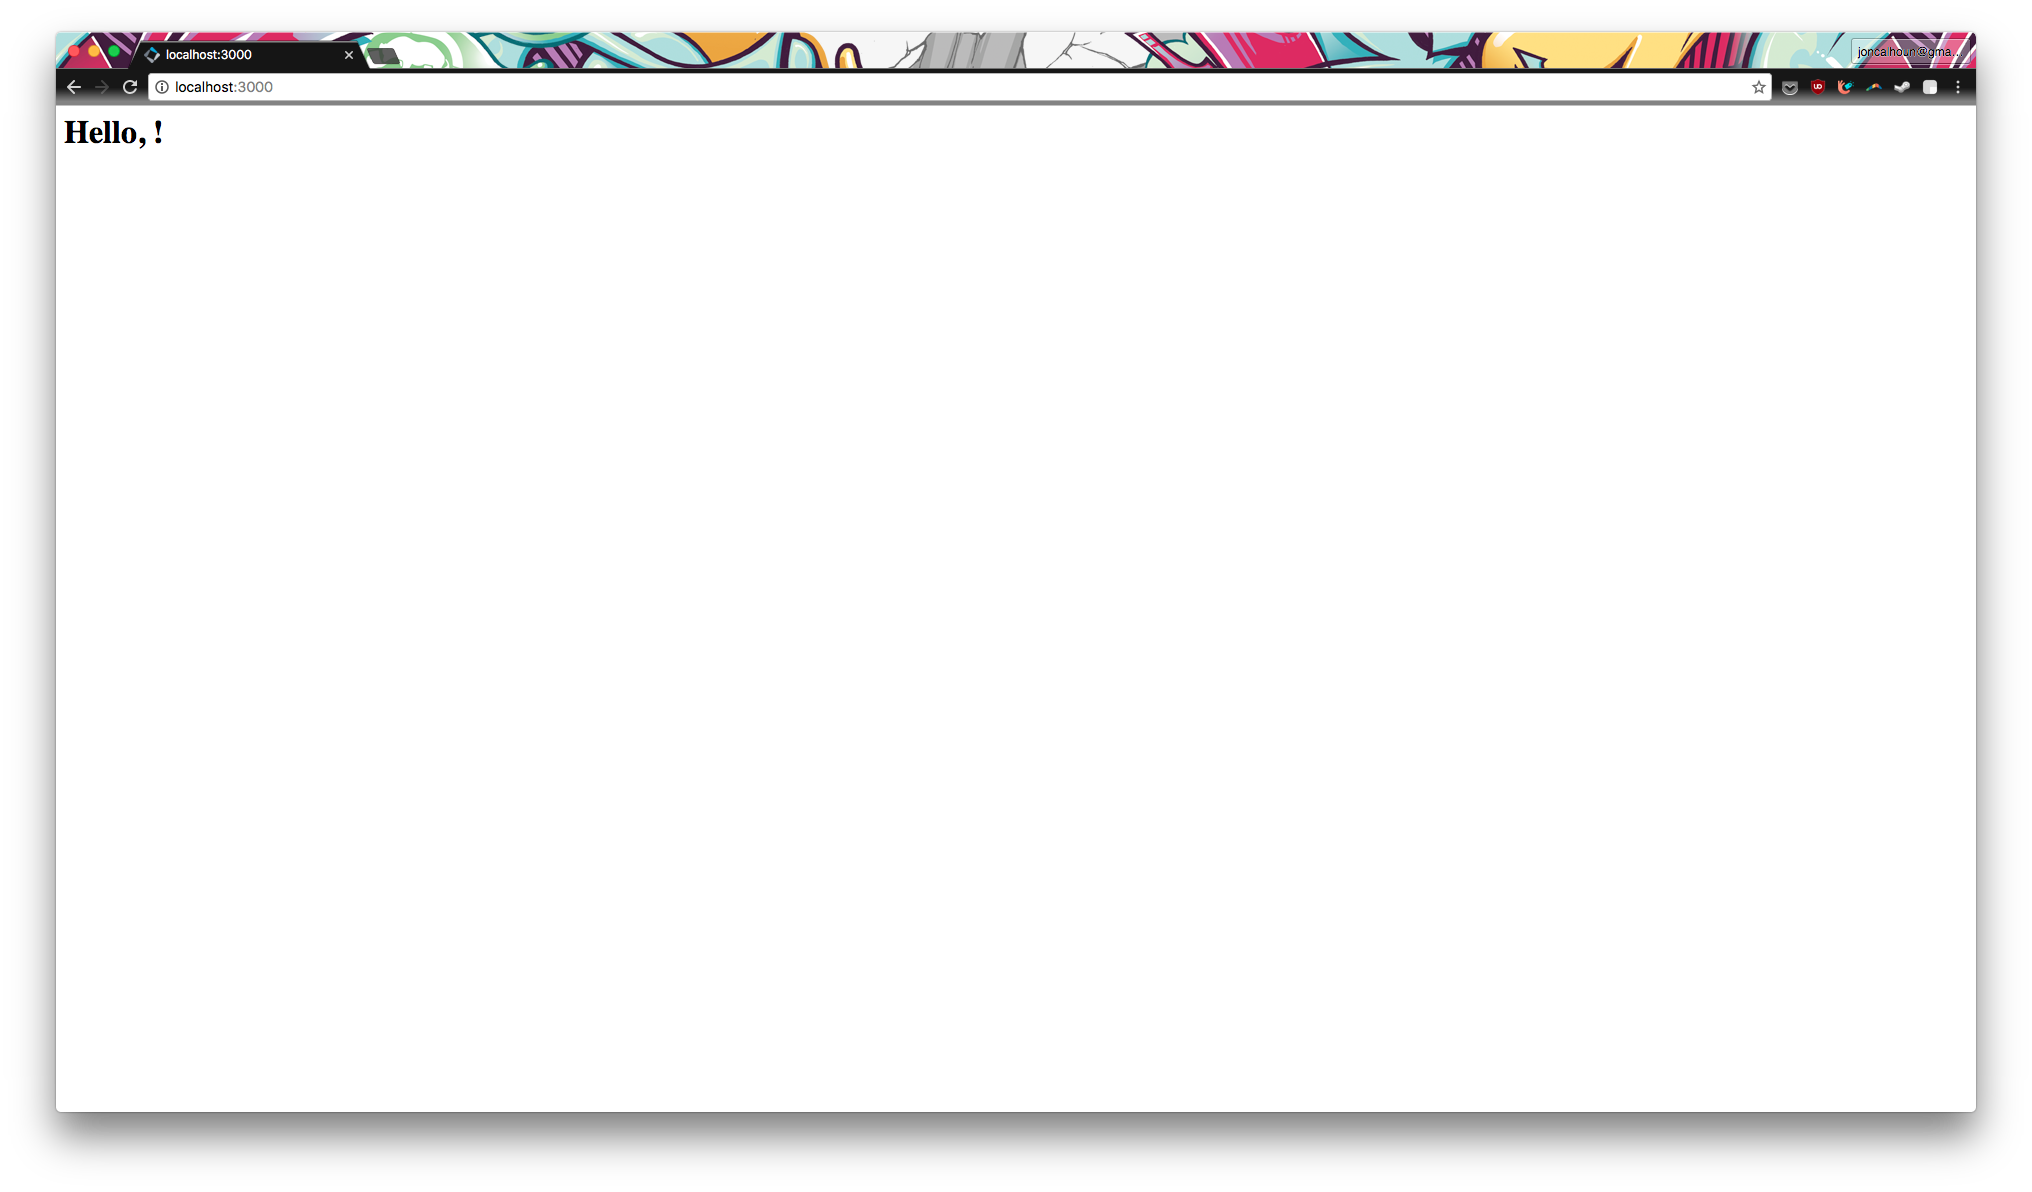
When we don’t provide a name the template renders with an empty string in place of the value. Instead we would rather our page show a more generic string, such as “Hello, there!”. Lets go ahead and update the template to use our first action, an if/else block. Update hello.gohtml like so.
<h1>Hello, {{if .Name}} {{.Name}} {{else}} there {{end}}!</h1>If you check out the page in your browser you should see that this updated your template to show “Hello, there !” like we wanted, but unfortunately this added in an extra space between the word “there” and the exclamation point. This doesn’t matter most of the time, but when dealing with text this can sometimes be annoying. In the next section we will look at two options for cleaning this up a bit.
Trimming Whitespace
To get rid of the extra whitespace we have a couple options:
- Remove them from our template.
- Use the minus sign (
-) to tell the template package to trim extra whitespace.
The first option is pretty simple. We would just update our hello.gohtml file to and remove extra whitespaces.
<h1>Hello, {{if .Name}}{{.Name}}{{else}}there{{end}}!</h1>In this example this works fine because it is a very short piece of text, but imagine instead that we were generating python code where spacing matters - this could get very annoying very quickly. Luckily the templates package also provide a way to trim unwanted whitespace using the minus character.
<h1>
  Hello,
  {{if .Name}}
    {{.Name}}
  {{- else}}
    there
  {{- end}}!
</h1>
In this code snippet we are telling the template package that we don’t want all spaces between the Name variable and whatever comes after it by putting the minus character at the front of the else keyword, and we are also doing the same with the end keyword on the second to last line. Reload your page and you should see that the space is no longer there.
For the rest of this tutorial I am going to opt to use the first example here for my hello.gohtml file.
Range Blocks
Now lets imagine that you wanted to display all of your widgets on your website, along with their price. This is the type of task that dynamic web applications were made for, as nobody wants to manually create HTML for each item you sell and maintain that. Instead we want to use the same HTML for each item. In Go you achieve this using a range block inside of your template.
Update hello.gohtml so that it has the following code.
{{range .Widgets}}
  <div class="widget">
    <h3 class="name">{{.Name}}</h3>
    <span class="price">${{.Price}}</span>
  </div>
{{end}}
Then update main.go to have the following code.
package main

import (
  "html/template"
  "net/http"
)

var testTemplate *template.Template

type Widget struct {
  Name  string
  Price int
}

type ViewData struct {
  Name    string
  Widgets []Widget
}

func main() {
  var err error
  testTemplate, err = template.ParseFiles("hello.gohtml")
  if err != nil {
    panic(err)
  }

  http.HandleFunc("/", handler)
  http.ListenAndServe(":3000", nil)
}

func handler(w http.ResponseWriter, r *http.Request) {
  w.Header().Set("Content-Type", "text/html")

  err := testTemplate.Execute(w, ViewData{
    Name: "John Smith",
    Widgets: []Widget{
      Widget{"Blue Widget", 12},
      Widget{"Red Widget", 12},
      Widget{"Green Widget", 12},
    },
  })
  if err != nil {
    http.Error(w, err.Error(), http.StatusInternalServerError)
  }
}
If you restart your server (or let fresh do it) and reload the page at localhost:3000 you should now see an HTML page that shows three widgets, each with a title and a price. If we added more widgets to our array we would see more here, and if we instead left it as an empty array we wouldn’t see any widgets here.
The most common source of confusion with the range action is that we are accessing individual attributes of a widget without needing to use an index or any other accessor inside of the .Widgets value. This is because the range action will set the value of each object in the collection to the dot (.) inside of the range block. For example, if you were to render {{.}} inside of the range block you would see the same output as if you used fmt.Println() on a Widget object.
Experiment with the templates
Play around with the range block for a bit. Add a line of code like <pre>{{.}}</pre> - what is assigned to the dot attribute? Is it an instance of the Widget struct each pass? What happens if you need the index of each item in the slice as well?
For more on that last bit - getting slice index values - check out the Variables section of the Go template docs and see if you can make their example work with our code.
Nested Templates
As your templates start to grow you will quickly find that you need to reuse components in different places. This is where nested templates come to save the day. With Go’s template package you can declare multiple uniquely named templates, and then when you need to use another template inside of your code you simply reference it using the template keyword. For example, lets say you wanted to declare a footer for your website that you could include on multiple pages and multiple layouts. Add the following footer template to your hello.gohtml file. Where you put it isn’t important, but I prefer to put mine at the top of the file.
{{define "footer"}}
  <footer>
    <p>
      Copyright 2024 Calhoun.io
    </p>
    <p>
      Contact information: <a href="mailto:jon@calhoun.io">jon@calhoun.io</a>.
    </p>
  </footer>
{{end}}
Then insert the following line after your range block for the widgets.
{{template "footer"}}Your hello.gohtml file should look like this:
{{define "footer"}}
  <footer>
    <p>
      Copyright 2024 Calhoun.io
    </p>
    <p>
      Contact information: <a href="mailto:jon@calhoun.io">jon@calhoun.io</a>.
    </p>
  </footer>
{{end}}

{{range .Widgets}}
  <div class="widget">
    <h3 class="name">{{.Name}}</h3>
    <span class="price">${{.Price}}</span>
  </div>
{{end}}

{{template "footer"}}
Now if you check out localhost:3000 you will see that the page is using the footer template that you defined. When you define a template you can use it inside of any other template and can even use it multiple times. Try including the footer template twice to see what I mean.
In a later post I will go over how to include multiple files in a template so that you can separate and reuse your templates more easily. For now we are going to go ahead and just put all of the template code in a single file.
Template Variables
Our last example was great, but what happens when you need to include some data in your nested template? Luckily, the template action allows you to pass in a second argument that will be assigned to the dot (.) argument inside of the template. For example, lets say we wanted to write a template for the name header portion of a widget, we could do so with the following code.
{{define "widget-header"}}
  <h3 class="name">{{.}}</h3>
{{end}}

{{range .Widgets}}
  <div class="widget">
    {{template "widget-header" .Name}}
    <span class="price">${{.Price}}</span>
  </div>
{{end}}
In this case the .Name attribute is being assigned to the dot (.) attribute inside of the widget-header template.
Nested templates with template variables even allow for you to go multiple layers deep, meaning it is possible to call a template from inside of a template.
{{define "widget"}}
  <div class="widget">
    {{template "widget-header" .Name}}
    <span class="price">${{.Price}}</span>
  </div>
{{end}}

{{define "widget-header"}}
  <h3 class="name">{{.}}</h3>
{{end}}

{{range .Widgets}}
  {{template "widget" .}}
{{end}}
The end result of this code is the same, but now that we have a widget template we could easily reuse this on other pages of our web application without having to rewrite the code.
Up Next…
With your newly learned templating skills you should be on your way to creating reusable and dynamic templates. In the next article we will go over how to use built-in template functions like and, eq, index, and after that we will look at how to add our own custom functions. I had originally intended to include those hear, but this article had a lot to cover with actions and I didn’t want to sell either short.
Following the post on functions we will go over how to use templates to create the view layer of a web application. This will include creating a shared layout, defining default templates that can be overridden, and including the same templates across various pages without putting all of the code into a single file.
If you are feeling ambitious or curious you can also check out the template docs for text/template and html/template. Go ahead and explore some other actions on your own 👍
This article is part of the series, An Introduction to Templates in Go.
Want to see how templates work in the bigger picture?
In my course - Web Development with Go - we use the html/template package to build out an entire view layer for a realistic application. If you have ever wondered how all of these pieces fit together in the scope of a complete web application, I suggest you check out the course.
If you sign up for my mailing list (down there ↓over there →) I'll send you a FREE sample so you can see if it is for you. The sample includes over 2.5 hours of screencasts and the first few chapters from the book.
You will also receive notifications when I release new articles, updates on upcoming courses (including FREE ones), and I'll let you know when my paid courses are on sale.
